Meal planning and food
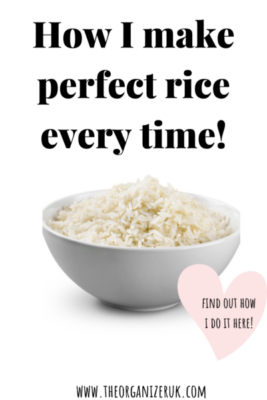
How To Make Perfect Rice Every Time With The Ninja Foodi
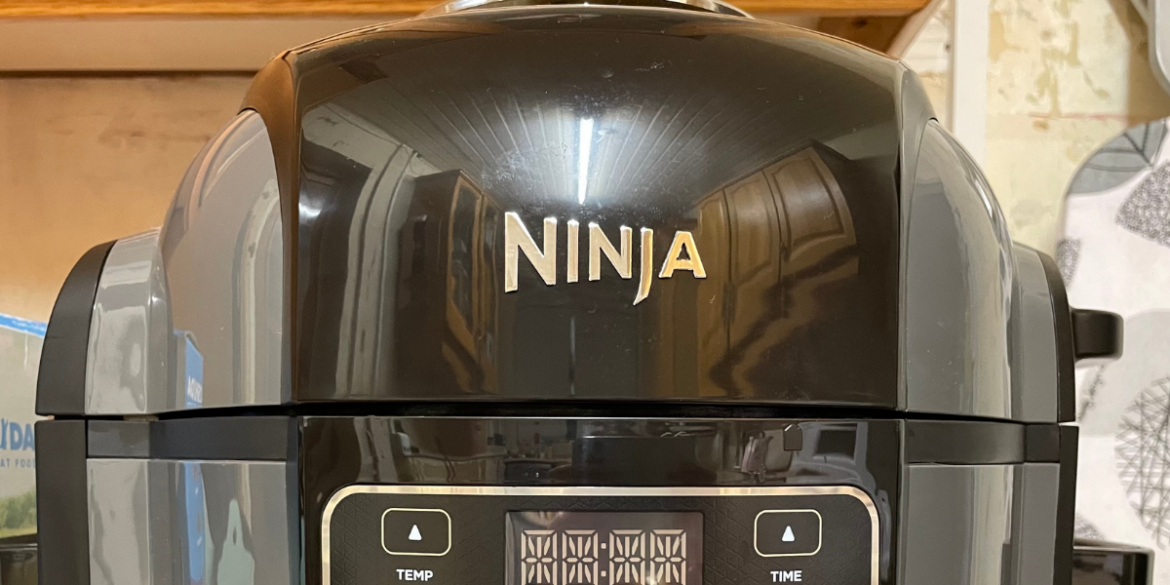
I’m rather excited to write this post about my brand-new kitchen gadget. Now, we’ve all made the mistake of buying an expensive gadget like a cold press juicer, which has ended up in the back of the kitchen cupboard, never to be seen again. When I splashed out on the new Ninja Foodi pressure cooker, I was worried that this might end up in the black hole of kitchen implements. However, I was in love with it from the get-go! So in this post, I will start with the most basic of Ninja Foodi recipes and talk about Ninja Foodi rice and how straightforward it is to prepare!


What is a Ninja Foodi?
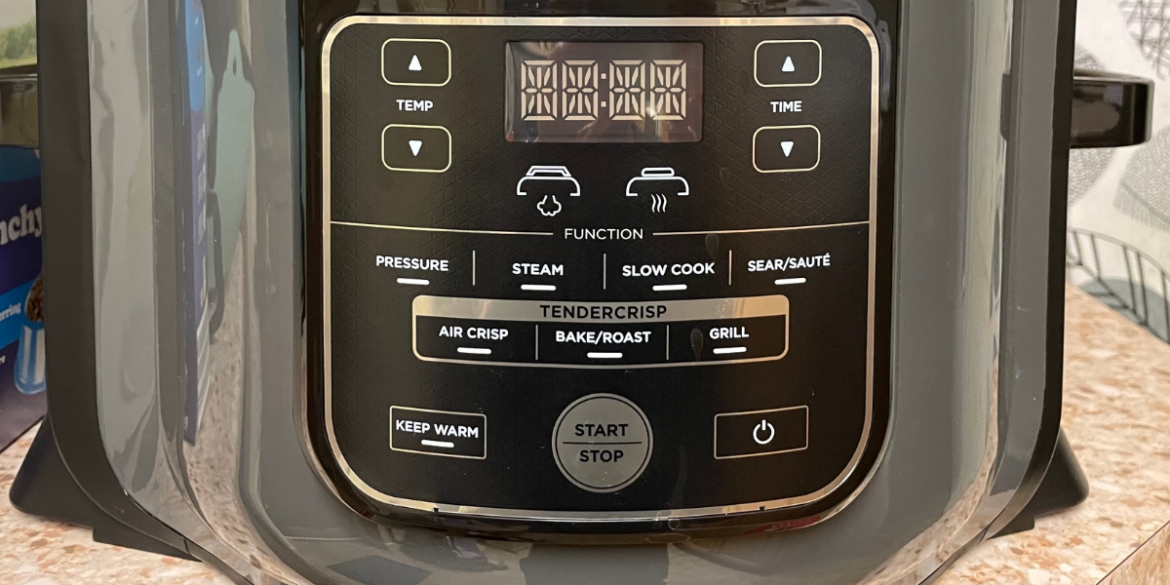
A Ninja Foodie is a 7 in 1 multi cooker with 7 cooking functions including:
- Pressure Cooker
- Air Fryer
- Slow Cooker
- Steamer
- Bake/Roast
- Sear/Sauté
- Grill.
Perfectly sized for up to 4 people, you can easily cook and crisp a whole 2kg roast chicken.
You can also buy a Ninja Foodie that dehydrates too like this one
What type of rice can you cook in it?
All types of rice are suitable for the Ninja Foodi such as:
- Brown rice
- Basmati rice
- Easy cook rice
- Mexican rice
- Long grain rice
- Risotto rice
- Wholegrain rice


How long does Ninja Foodi rice take to cook?
The rice takes 2 minutes cooking time; however, you do need to allow time for the pressure to build up which is approximately 8 – 10 minutes the Ninja Foodi has to heat up the water, which will produce the steam which creates the pressure. During this process, a strong jet of steam will come from the back of the machine while the pressure builds up, do not be alarmed as this is perfectly normal.
How to cook Ninja Foodi rice
There is no great skill set needed for pressure cooking rice. It couldn’t be simpler.
You will need
- 200g long-grain white rice or a rice of your choice (or 1 cup rice)
- 240ml water
Method
- Rinse the rice for best results
- Add the rice and water to the Ninja Foodie removable cooking pot
- Attach the pressure cooker lid to the Ninja Foodie and lock the lid
- Ensure that the valve at the top is set to “seal.”
- Select the pressure cooker setting to high
- Adjust the timer to 2 minutes and press start.
- Leave the rice to cook for two minutes, then use the natural release setting.
If you don’t want to eat your rice straight away, you can leave it in the keep warm setting until you are ready to use it.


How is the rice compared to rice cooked on the stove?
I must say that I enjoyed the Ninja Foodi pressure cooker rice more than any other rice I have cooked on the hob. I found that it didn’t stick together, and it was light and fluffy.
Summary
✔️This easy instant pot rice was very quick to cook once the pressure-time had passed.
✔️It was fluffy and not sticky
✔️The keep-warm setting came in really handy for the days that my spouse gets stuck in traffic on his way home from work and it can be dished up straight away with something like a crockpot chicken or chili. The Foodi can keep a dish warm for up to 12 hours after cooking.
✔️If you’re worried about how to get the Ninja pressure cooking times right, it comes with a pressure cooker time chart for the most popular foods.
Ninja Foodi quick fire review.
As I said earlier in this post I was worried about this being a bit gimmicky but I’m absolutely thrilled with it, I use it to cook all my vegetables as I’m a vegetarian, and for:
- Stews and other one-pot recipes
- Chicken nuggets
- Chicken wings
- Chips
- Boiled eggs
- Boiled potatoes for a side dish
- Boiled potatoes for mash
- Whole chicken
- Ragu sauce
- Leek and potato soup
- Tomato soup
- Chili
- Spaghetti bolognese
- Curry
I’ve only had this machine a few weeks and have still to try the slow cooker function and the grill function, so all the above dishes were made using the pressure cooker, air fryer, sauté and steam settings.
Having one machine that does everything has allowed me to get rid of my slow cooker, air fryer, steamer and I rarely get the frying pan out now as I prefer to use the sauté setting instead. So overall, I’m loving my machine and loving my Ninja rice!
Pin this for later !