Cleaning
How To Perfect The Lost Art Of Bedmaking.
If you’re wondering why your room never looks tidy, the first place to look is your bed. What is the current state of your dwelling place? Is the bed somewhere you’d love to crawl back into to drift off into a beautiful slumber? Or does it look like a nest of rats have made their home in it? Have you even made the bed this morning? Does it pass the sniff test? When did you last change those bedsheets? In this post, I’m going to give you some bedmaking tips to transform your dirty duvet cover into the perfect freshly made bed.
Why do we need to make the bed?
What’s the point in making the bed if you’re just going to get back into it again? My daughter always asked this question every time I asked her to make the bed. I taught her the easiest way to make the perfect bed, now she makes her bed every single day and enjoys making it look clean and tidy every morning.
There are a few reasons we make our bed each day:
- Comfort: a freshly made, hygienic bed is much more comfortable to slide into than a grubby, unaired, wrinkly unmade bed.
- Hygiene: making the bed the correct way every day helps to keep the bed aired and reduces dust mites.
- Keeps the room tidy: a well-made bed instantly brightens any room and gives it a clean and tidy feel.
- Keeps the sheets clean: If you have animals that like to sleep on the bed, making it will ensure that they only sleep on the duvet rather than the bottom sheet where you sleep.

- Starts your day off with a pop: What better way to start the day than with a lovely tidy bedroom, making the bed makes your room look and feel 90% tidier.
- Creates standards: you are leading by example, so you create the standards you expect from everyone else in the house.
- Creates good habits: when you practice good bedmaking habits, you start incorporating other habits into your daily routine too.
- It has a ripple effect: when you make your bed, you see how amazing it looks, and it makes you want to start keeping the rest of your room tidy, this then has a ripple effect with the rest of the house.
How to air the bed
To reduce the number of dust mites in your house, you need to reduce the humidity and the amount of dust in your bedroom. Airing the bedding will reduce the moisture in your room dramatically. Dust mites cannot live in a temperature below 16•C.
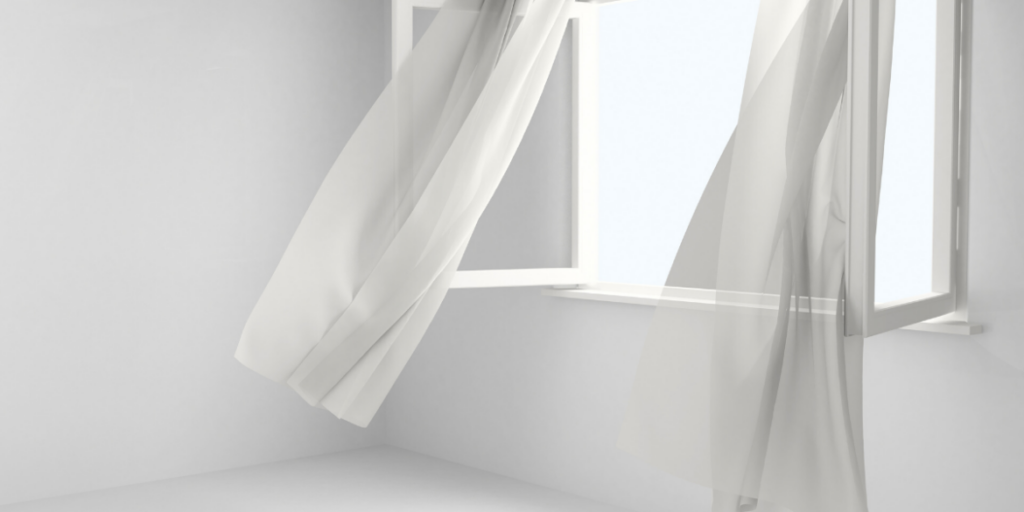
The bed should be aired thoroughly every day for at least an hour before you make it. Windows should be thrown open to allow the fresh air to circulate the bed linen and mattress.
If you have a family member with a dust allergy, you can air soft-toys by putting them near the open window or by putting them in a Ziplock bag in the freezer for a few hours which should kill the dust mites.
- Firstly, pull the bed away from the wall and strip everything from the bed except the bottom / fitted sheet.
- Pillows should be separated, then shaken or beaten to remove any dead skin cells. Every minute the human body loses about 30,000 to 40,000 dead skin cells off the surface of the skin, so it is vitally important to get those skin cells out of our beds to reduce dust mites! Read more about how much skin we shed here.
- It is thought that the human body can produce up to a litre of sweat per night, so it’s vital to get the air circulating the unoccupied bed. Try to place the pillows and duvet on a chair near an open window to allow them to air out too.
- Brush or shake the bottom sheet to remove any wrinkles and dead skin cells before you start to make the bed again.
How to make up a beautiful bed
The bedmaking process step by step.
- Share the work load
When making the bed, it is usually more comfortable if two people can help, especially with double or king-sized beds.

- Finish one side before you start the next.
It is more efficient to complete as much of one side of the bed as you can before moving around to the other side, especially if you are bedmaking on your own.
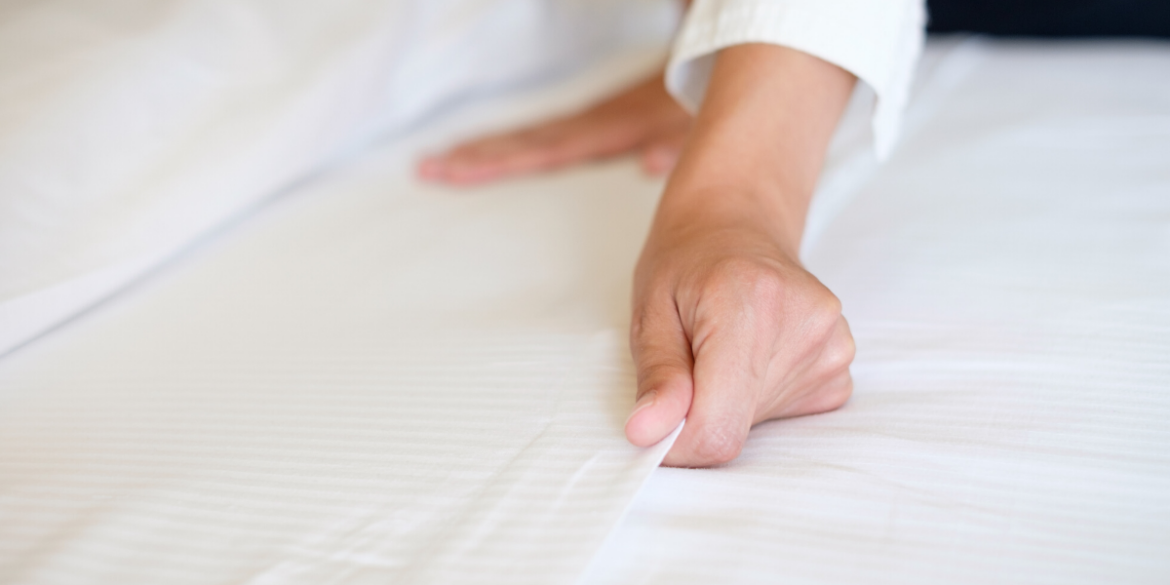
- Pull the bottom sheet tight
If you were in the British Army, they would expect you to be able to bounce a coin off the bottom sheet! So, pull the bottom sheet as tightly as you can and tuck it in around the bed.
If you are not using a fitted sheet, make sure you have tight hospital corners! - Put the top sheet on with the pattern facing down.
There are different styles of bedmaking, and how you make the bed is up to your individual taste, however, there are still some rules to follow to keep your bed looking pristine.
If you use a top sheet, you can choose to pull it right up to the top edge of the bed or to leave it at shoulder height, either is fine; it is just personal preference.
If you put the top sheet with the pattern facing down, you will see the design when you turn down the bed in the next step.
Tuck the top sheet in around the bed, making sure you have hospital corners that the nursing profession would be proud of! - Add the duvet
Next, add the duvet or the blanket and pull it up to approx. 6 inches below the top sheet then fold the top sheet over it to make a clean, neat edge.
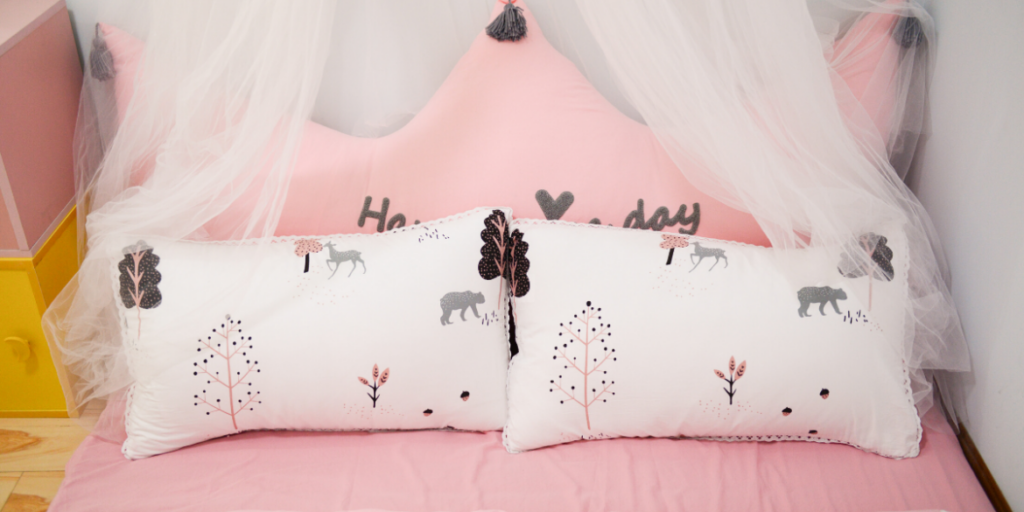
- Place the pillows
Stack the pillows neatly at the head of the bed, being careful not to flatten them out.
- Bedspread or not to bedspread
Some people prefer to have a bedspread over the duvet, but that is purely a matter of taste.
If you choose the modern method of bed making and only use a duvet rather than a top sheet and blankets, then that’s ok too, and you’ll find that it leads to easy bedmaking!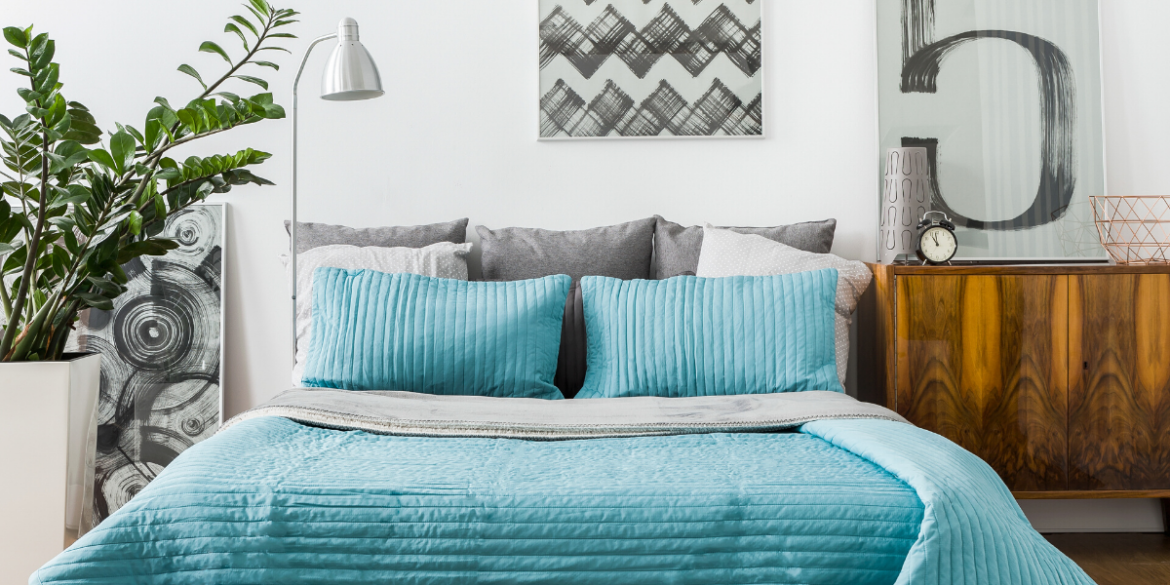
Washing bed linen.
My washing machine has a particular setting for towels and bed linens, so follow your machine’s guide and select the correct setting.
Dust mites can’t live in temperatures above 60•C, so that should be the minimum temperature to wash your bedding on. To learn more about which detergent to use for bed linen, read this helpful guide.
Storing bed linen.
To keep the linen closet beautifully tidy, store the bottom sheet, duvet cover and pillowcases, inside the pillowcase belonging to the set, then place in an airing cupboard or linen cupboard to make it easy to find and put away.
What to do each week before you change the bedding:
- Give the bed frame a dusting, then wipe down with diluted disinfectant to keep it fresh.
- Vacuum any wooden slats under the mattress and wipe them down with disinfectant.
- Vacuum, then turn the mattress, one week from top to bottom, then the next week from side to side to ensure that the bed gets worn evenly.
Once every six months:
Take the pillows and the duvets to be professionally cleaned. washing pillows at home can render them lumpy and misshapen.
Most washing machines are not designed to take a large duvet, so it’s often best to take a trip to the launderette to get your duvet cleaned.
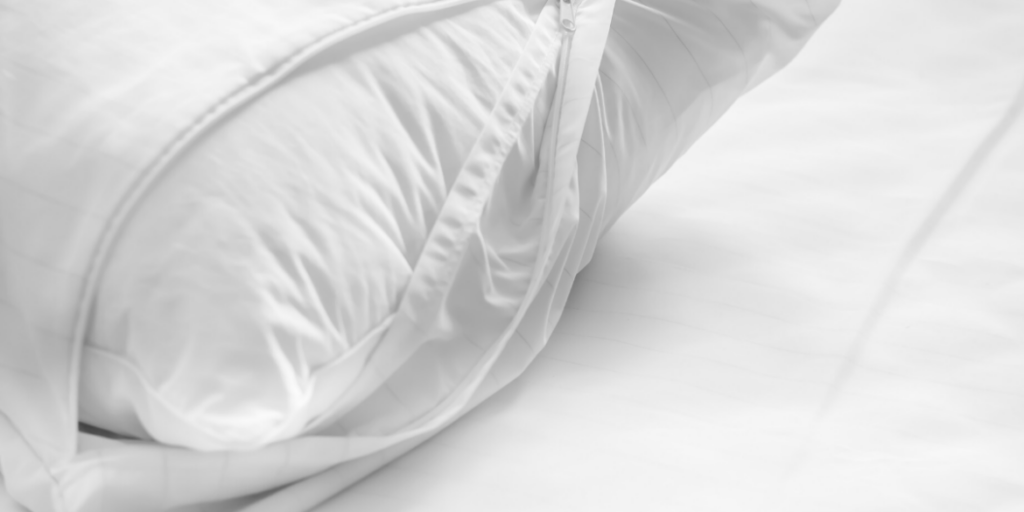
Protecting mattresses.
Protect children’s beds with a waterproof mattress pad like this one; older kids and adult’s beds should have a mattress protector underneath the bottom sheet.
If you have any stains on your mattress, read this post to find out cheap and straightforward ways to remove them.
Proper bedmaking etiquette.
The pillows slip openings should be facing inwards towards the other pillow on a double or Kingsize bed, or away from the door on a single bed.
How often should you change the bed
I change all the beds once a week; this is the minimum time to keep the mattress smelling and feeling fresh.
Let us know which cleaning subject you’d like us to tackle next, in the comments below!
- Calling all dog owners: How to clean fake grass
- How to clean artificial flowers the easy way
- How to cook a gammon joint in a slow cooker
- How to clean mold out of a fridge
- How to get crayon off wood: Easy ways!